This tutorial was written by me on 7th December 2009
You will need:
Template291 by Missy here
Template291 by Missy here
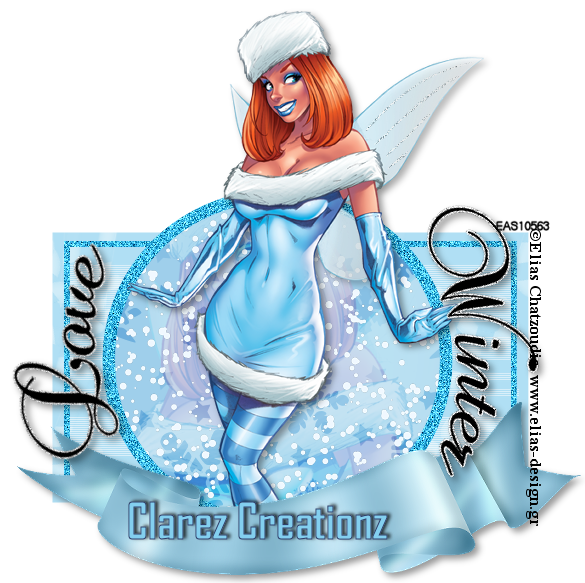
Tube of choice, I used Elias Chatzoudis, you will need a licence to use his work here
Scrap Kit 'Minx Attitude' By Tamie here
mask of choice
Pentacom - Dot and Cross
Scrap Kit 'Minx Attitude' By Tamie here
mask of choice
Pentacom - Dot and Cross
open the template and duplicate and close the original
delete the copyright layer and the background layer
image > resize > 80% all layers
image > canvas size > 650 x 650
click on the oval layer > selections > select all > selections > float > selections > defloat
open MApaper1 and copy and paste as a new layer > selections > invert and hit delete, delete the original layer > selections > select none
effects > plug ins> pentacom > dot and cross, settings: 72, 10, 2
click on rectangle2 > selections > select all > selections > float > selections > defloat
open MApaper3 and paste as a new layer > selections > invert and hit delete, delete the original layer
repeat with rectangle1 > drop shadow, settings: 2, 2, 70, 5.0, black, add same drop shadow to rectangle2
click on circle > selections > select all > selections > float > selections > defloat, open MApaper6 > image > resize > 80% > selections > invert and hit delete, delete the original layer
click on large dangerous and using your magic wand click inside each of the letters and flood fill with black
click on the shes so layer > selections > select all > selections > float > selections > defloat and flood fill black
delete the dangerous layer ( the small words )
click on the dotted line > selections > select all > selections > float > selections > defloat, select your brush set to circle and fill them in with black > select none
open your tube and paste as a new layer, add a drop shadow of choice, click on the star2 and send it to the top above the tube
add a drop shadow of choice to the circle layer
open scatters3 and copy and paste as a new layer under all the layers, using your selection tool, erase any overhanging at the bottom, add a drop shadow
open glitterspat4 and copy and paste as a new layer at the bottom > image > resize 80%
open curlyribbon2 > image > resize > 80% and paste as a new layer and place ( see mine )
add a small glow to the 'shes so' and merge down with the 'dangerous'
bring the dangerous layer to the top
crop around the tag > image > resize 80% > all layers
add the copyrights and your mark
merge all layers visible
copy and paste the top layer into animation shop as a new animation
click your magic wand and click inside the D > selections > modify > expand > 2, and flood fill with a colour from the tube
copy merged and paste after current frame
click your magic wand and click the letter A > selections > modify > expand > 2 and flood fill again
copy merged and paste after current frame
repeat this until all letters are filled with your colour
i used impact and mistral for my text
change the frame properties to 20
view animation and save
view animation and save
No comments:
Post a Comment