This tutorial was written by me on March 12th 2010, It assumes you have working knowledge of PSP
and Animation Shop and it's tools, was written in Version 9, feel free to merge layers as when needed, unless otherwise stated
and Animation Shop and it's tools, was written in Version 9, feel free to merge layers as when needed, unless otherwise stated
You will need:
Scrap Kit 'Paddy O'Mally' By Shani which you can download from Wicked Princess
Tube of choice, I am using the work of Elias Chatzoudis, you will need a licence to use his work
dsb flux - Bright Noise
Scrap Kit 'Paddy O'Mally' By Shani which you can download from Wicked Princess
Tube of choice, I am using the work of Elias Chatzoudis, you will need a licence to use his work
dsb flux - Bright Noise
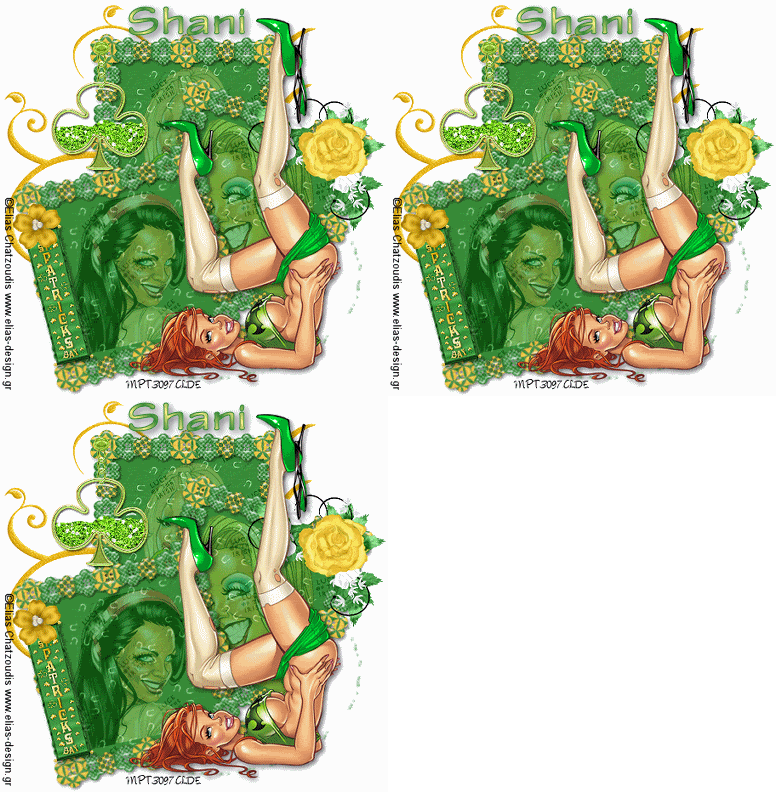
open a new transparent image 600 x 600 and flood fill white > open buttonframe and paste as a new layer
using your magic wand click inside the frame > expand > 2 and open a paper of choice and paste as a new layer
invert and delete and drag the paper below the frame > drop shadow the frame > merge visible > resize 65%
duplicate > image > rotate > free 17 > right > move down > duplicate > image > rotate > free > left 30 > position ( see mine )
open up the doodle and paste as a new layer and drag below the frames > delete any overhanging on the right side
open up the dust and and paste as a new layer and drag below the frames and doodle and poition on the right ( see mine )
select your freehand selection tool and draw around the bottom frame just around the edges > open a tube of choice
and paste as a new layer > invert and delete
repeat with the other 2 frames until you have 3 tubes inside them > change blend modes to soft light
open your main tube and paste as a new layer at the front and position > drop shadow
open greenclovercharm and paste as a new layer > resize > 45% and position ( see mine )
open up rosejasminecluster and paste as a new layer > resize 55% and position ( see mine ) > drop shadow
open up sign and paste as a new layer > resize > 35% and using your rotate tool rotate it a bit and position ( see mine )
adjust > sharpen > drop shadow
open up yellowflower and paste as a new layer > resize > 50% and position ( see mine > drop shadow
making sure the green clover is the top layer > hide it and merge visible all other layers
add your copyrights, any text you would like and your mark > resize > all layer85%
using your freehand selection tool draw around the green glitter on the clover
duplicate the clover twice so you have 3 of them and rename 1,2,3 > click on layer1
effects > Dsb flux - bright noise, settings: 55, Mix and hit ok
click on layer2 and repeat the noise but hit mix twice
click on layer3 and repeat the noise but hit mix three times > select none
hide layers 2 and 3 and copy merged into animation shop
hide layers 1 and 3 and copy merged after current frame in animation shop
hide layers 1 and 2 and copy merged after current frame in animation shop
view animation and save as a .gif
hide layers 1 and 3 and copy merged after current frame in animation shop
hide layers 1 and 2 and copy merged after current frame in animation shop
view animation and save as a .gif
If you have any questions or comments regarding this tutorial please leave me a comment below or write a message
in my Chat Box, alternatively you can email me at clare_33@live.co.uk
in my Chat Box, alternatively you can email me at clare_33@live.co.uk


No comments:
Post a Comment