
This tutorial was written by me on October 16th 2010.
And re-added on August 13th 2012.
It assumes you have working knowledge of PSP and Animation Shop and it's tools, was written in Version 9, feel free to merge layers as when needed, unless otherwise stated
you will need;
you will need;
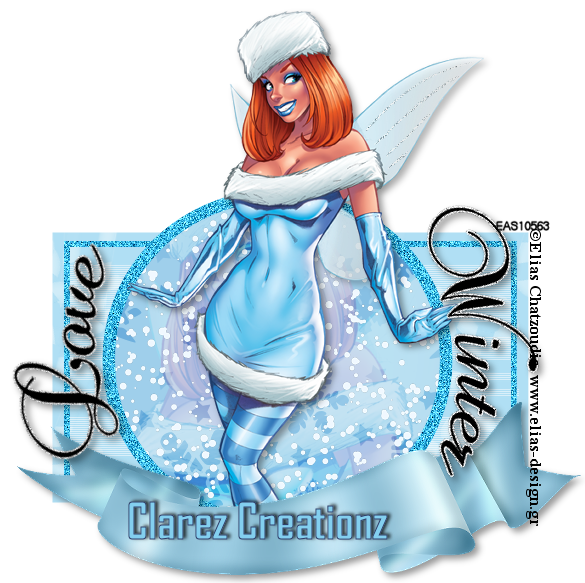
Tube of choice, I am using the work of Elias Chatzoudis, you will need a licence to use his work
template 273 by Missy which you can download from here
My supplies here
eye candy impact - gradient glow
eye candy impact - gradient glow
Open the template > duplicate > close the original > delete the copyright layer > image > canvas size > 650 x 650
delete the rectangles layer and highlight the oval layer > float > defloat > open paper1 and paste as a new layer > invert and hit delete > delete the original layer
add a small gradient glow
highlight frame layer and add noise set to 100%
highlight frame background layer > float > defloat > flood fill using a gradient from 2 colours from your tube
while still selected copy and paste a few of your tubes when happy with placement > invert and hit delete > merge the tube layers together and change blend mode to luminance legacy and lower opacity
highlight wordart layer > adjust > colorize and change to grey and repeat with the beware layer > add the glow to both
open main tube and paste as a new layer and position > drop shadow
open the tag and paste as a new layer > use your deform tool to rotate a little bit > drop shadow > add name
copy and paste your tag into animation shop open the bling supplied and add to the background > view animation and save as a .gif
If you have any questions or comments regarding this tutorial , please leave me a comment below or write a message
in my Chat Box, alternatively you can email me at clare_33@live.co.uk
in my Chat Box, alternatively you can email me at clare_33@live.co.uk
No comments:
Post a Comment