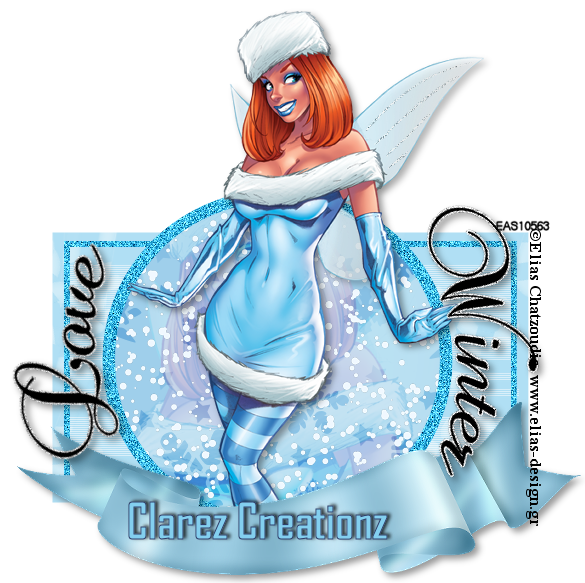
This tutorial was written by me on 19th June 2010 It assumes you have working knowledge of PSP and Animation Shop and it's tools, was written in Version 9, feel free to merge layers as when needed, unless otherwise stated
You will need:
You will need:
Template29 by Tamie which you can download from Addictive Templates
Word art by Artmama which you can download here blog not found on time of re-adding tutorial
Tube Of choice, i am using the work of Keith Garvey and you will need a licence to use his work
Scrap Kit 'Remember Me' which you can download from Bea Creations blog not availble now
Scrap Kit 'Remember Me' which you can download from Bea Creations blog not availble now
Open the template and duplicate and close the original > delete the copyright layer
Image canvas size > 700 x 700 ( we will resize and crop later )
Highlight Circle2 > float > defloat > open paper6 and paste as a new layer > selections > invert and hit delete on our keyboard > delete the original layer
highlight strips > float > defloat > open paper6 and paste as a new layer > selections > invert and hit delete on your keyboard > delete the original layer
highlight strip2 > float > defloat > open paper6 and paste as a new layer > invert and hit delete on your keyboard > delete the original layer
highlight strip3 > float > defloat > open paper6 and paste as a new layer > invery and hit delete on your keyboard and delete the original layer
highlight smallcircle2 > float > defloat > open paper4 and paste as a new layer > invert and hit delete on your keyboard > delete the original layer
open the wordart and copy the drunk dial layer and paste as a new layer onto your canvas > position ( see mine )
image > resize > all layers 85% > open tube and paste as a new layer and position > add a drop shadow of choice
highlight the small circle layer > float > defloat > paste your tube as a new layer > invert and delete
duplicate the tube layer and on the top copy > blur > gaussian blur - 3.0 > change the blend mode to overlay and merge down with the other tube layer > lower opacity to around 50
open flower15 and paste as a new layer and position ( see mine ) > drop shadow
add the copyrights, your mark and any text you wish
resize > all layers 85% and crop around
delete the background layer > merge visible and save as a .png
if you have any questions or comments regarding this tutorial or would like me to display
your creation on my blog, please leave me a comment below or write a message
in my Chat Box, alternatively you can email me at clare_33@live.co.uk
your creation on my blog, please leave me a comment below or write a message
in my Chat Box, alternatively you can email me at clare_33@live.co.uk


No comments:
Post a Comment